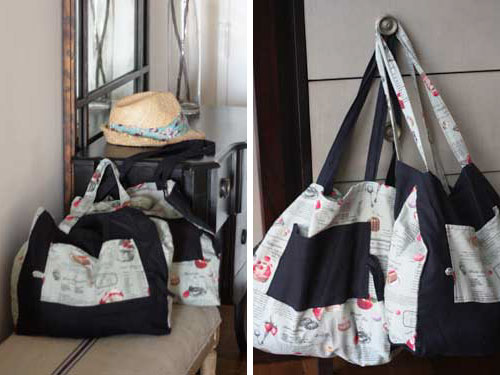
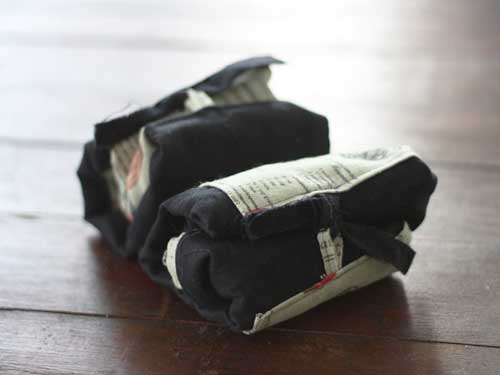
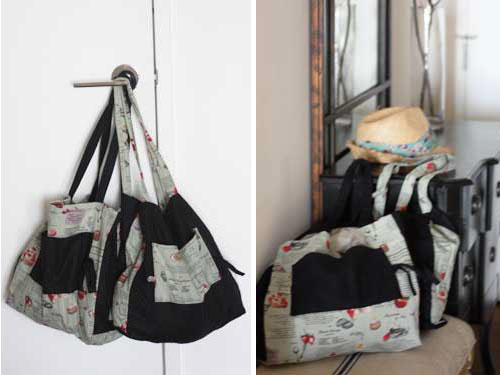
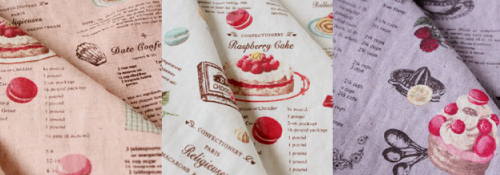
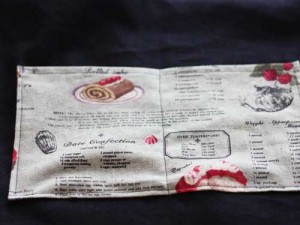
every so often, yuwa turns out a fabric for its live life collection that we quite literally drool over! available in 4 colors, this yuwa fabric (which we’ve called french pastry recipe), is festooned with the loveliest french afternoon tea delights and heirloom recipes for the sweetest sweets. one of these days, we’re going to try baking from one of the recipes to see what they turn out!

now, one of the best things about fall in nyc is that the farmers’ markets are brimming with a resplendent fall harvest − the sort that reminds us of those delightful summer markets in the south of france. . .

. . . which gave us the idea to whip up some french patisserie market totes. we designed them so that along with showcasing our favorite yuwa fabric to date, they also fold up in a compact fashion, allowing us to store them in our every day bag and whip them out as needed. and of course, these are made with french seams, so that no serger is required or fiddling with the overlock stitch function on your machine.
here’s what we did . . .
Materials
- Coordinating thread
- Pins, a medium sized safety pin, a sewing machine, an iron, and fabric scissors
Some Prep Work
We made two versions of the tote, using a combination of fabric A or fabric B. The fabric you choose to assign as A or B will depend on which version of the tote you decide to make. The directions below are for a single tote (although you’ll have enough fabric for 3 totes).
- Body: with A, cut one piece of fabric that is 16.5″ wide by 36″ long. This piece will be the body of the tote. [Note: if you are using fabric that runs in one direction (like Yuwa’s French Pastry Recipe which we used), you will need to cut this piece of fabric in half, so that you end up with two pieces that are 16.5″ wide by 18″ long. The two pieces will then be re-joined at the base of the bag. If you don’t do this, the print on front of the back will be right side up, but the print on the back of the bag will be upside down. The finished bag will then be about 1/2″ shorter than if you had used a two directional fabric. The sides (see next item below) will also need to be trimmed to match the tote’s revised height dimension.]
- Sides: with B, cut out two pieces of fabric that are 5.5″ wide by 15.5″ long. These two pieces will make up the sides of the tote.
- Pocket: with B, cut out a piece of fabric that is 11″ wide by 7″ tall. This piece makes up the front pocket.
- Straps: with B, cut out two pieces of fabric that are 2.5″ wide by 30″ long. These pieces will be used for the straps.
- Loop: with A or B, cut two pieces of fabric that are 1/4″ wide by 3″ long. (Note: we cut these along the grain so that they would have a bit of characteristic fraying. To minimize fraying, these can either be cut on the bias or with pinking shears).
- Ties: with A or B, cut out a piece of fabric that is 1″ wide by 8″ long. (Note: we cut these along the grain so that they would have a bit of characteristic fraying. To minimize fraying, these can either be cut on the bias or with pinking shears).
Now . . . to Sew!
- Preparing the Body (if you’re using 2 directional fabric, skip this step)
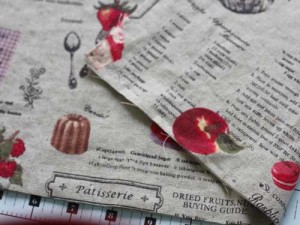 |
Place the wrong-sides of the fabric (the two 16.5” x18″ pieces from step 1 above) together, so that the right-sides are on the outside. Make sure that both fabrics are pointing in the same direction. |
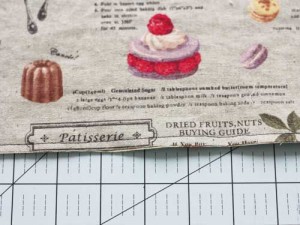 |
Sew the two pieces together along the 16.5” bottom edge, leaving a ¼” border. |
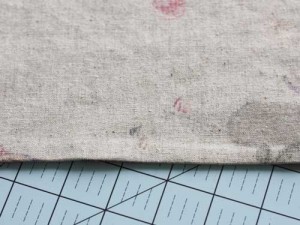 |
Flip the piece inside out. Iron the seam flat. (You may want to trim down the 1/4″ border from above a smidge so that it stays encased within the seam in the next step). |
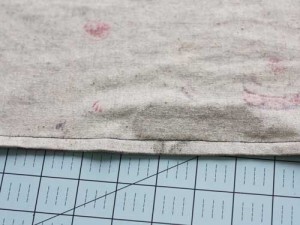 |
Then, sew the same seam again (with the wrong-sides facing you), leaving a ¼” border (to complete a French seam). |
-
Attach the Sides
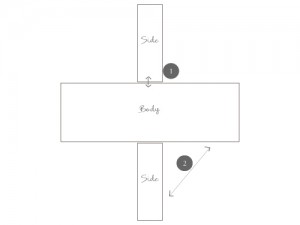 |
Match the midpoint of the Body fabric with the midpoint of the Side fabric (bottom edge). Make sure that the wrong-sides are touching. |
 |
Pin in place and sew together, leaving a ¼” border (1). Then, continue sewing along the four sides of the bag (2). |
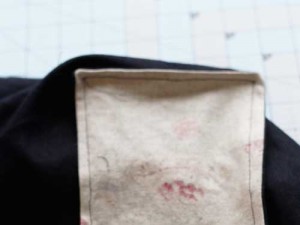 |
Flip the bag inside out. Press the seams, and then sew a ¼” from edge with the right sides touching this time to encase the raw edge of the previous seam. (photo shows a different fabric combo than prior or following photo) |
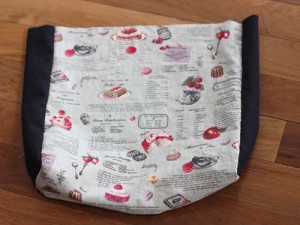 |
Fold the top edge of the tote bag down a 1/4″ inch and sew as close to the edge as possible. The bag will look something like this when steps above are complete. If you’re using a one-directional fabric, you may need to trim back the excess fabric on the sides of the bag towards the opening. |
-
Front Pocket
 |
Fold down and press what will be the top edge of the pocket a ¼” from the raw edge. Sew the seam. |
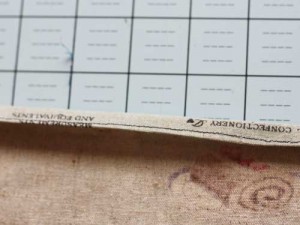 |
Next, fold again and sew another ¼” from the edge. |
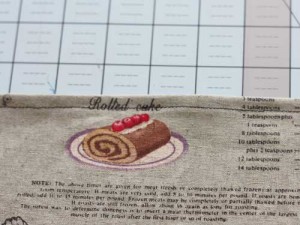 |
The finished top edge will look something like this when done. |
 |
Then, zig-zag stitch (or overlock if you have it handy) around the 3 remaining raw edges of pocket. The zig-zag stitch should be about ¼” wide. |
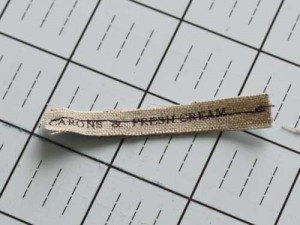 |
Make the Loop: place the two loop pieces of fabric together with wrong-sides touching. Sew down the center of the fabric along the long side.
|
| – no photo – |
Make the Ties: fold the fabric in half so that it is 1/2” by 8” long. Press flat. Then, use the zig-zag stitch to go around all four sides of the rectangle as close to the edge as possible.
|
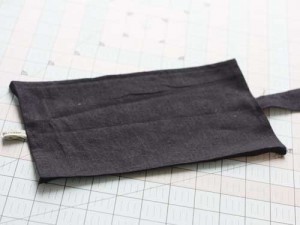 |
Press the sides and bottom sides of the pocket flat. Then attach the ties and loops to the pocket so that it resembles the photo to the left. (The loop should be folded in half, so that the two ends will be stitch to the wrong side of the pocket. The ties should be folded in half, so the two ends will be outside of the pocket, i.e. the fold will be stitched to the wrong side of the pocket.)
|
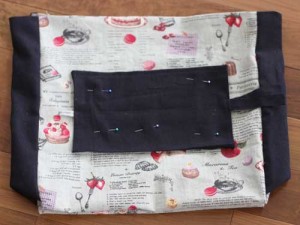 |
Position the pocket so that it is horizontally centered on the tote and about 4” from the bottom edge. Sew the pocket to the tote, leaving the top edge open.
|
 |
Then, sew the pocket together with the tote again, down the center of the pocket. This divides the pocket into 2 compartments.
|
-
Straps
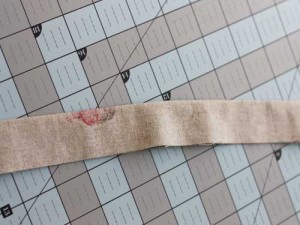 |
Fold the 2.5”x 30” fabric in half along the long edge. The right sides should be touching. Repeat for other strap. |
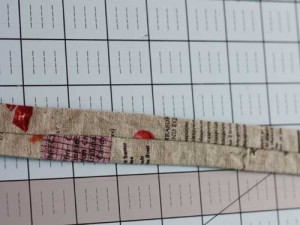 |
Sew a ¼” from the raw edge. Then, use a safety pin and flip the piece inside out. Position the seam in the center and then, iron flat. Repeat for other strap. |
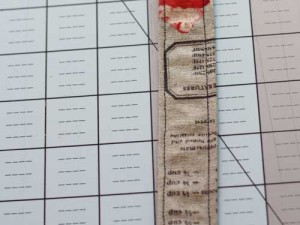 |
Sew both sides of the straps along the long edges. Repeat for other strap. |
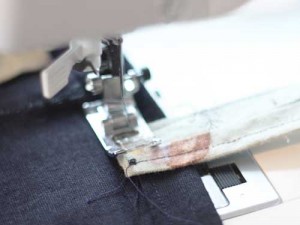 |
Position the straps so that they are aligned with the two sides of the pockets. Letting the strap overlap 1” with the top edge of the tote, attach the strap to the top of the tote bag by sewing in the shape of a small square.Repeat for other 3 ends of the straps. |
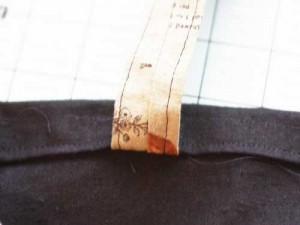 |
Then, fold the entire top edge of the tote bag over 1” and sew along the inside edge. (The straps will be hanging inside the tote at this point. ) |
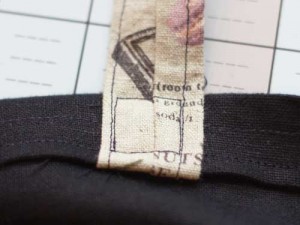 |
To finish, bend the straps upwards and sew another small square to attach the strap to the upper edge of the tote.Repeat for other 3 ends of the straps. |


