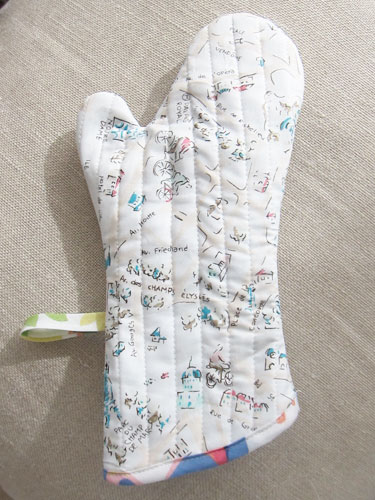
with spring around the corner, we decided it was time to whip up a pair of oven mitts to replace the rather stained and beat-up pair hangin’ the kitchen. and, channeling our inner french girl, we decided to do so with dear STELLA’s wonderful Paris Map fabric. we’ve put together a step-by-step tutorial below in case you want to make your own oven mitts
and now, we’re off to bake some macarons . . . toodle dee doo!
oh wait! did we mention that from now until the end of February, dear STELLA fabrics are an extra 10% off (use code STELLA10)
Materials
- Fabric: 1 yard 100% cotton fabric (shown: dear STELLA Paris Map Grey)
- Heat resistant batting (we used the Insul-Bright)
- Optional: Cotton batting [Note: if you will be using this under high temperatures 400 degrees +, you really do need the extra cotton batting.)
- Double Fold Bias Tape at least 3/8″ to 1/2″ wide: 2 yards (shown: Joy Double Fold 1/2″ Bias Binding Tape)
- Matching thread
- Plenty of pins, a sewing machine, and fabric scissors
Fabric Pattern
oven mitts small – this is a .pdf pattern (for accurate scale, you may need to turn off the “fit to printable area” function when you print).
Some Prep Work
(nb: an alternative way to assembling oven mitts is to pin and quilt all the fabric together and then cut the oven mitt pattern out of the quilted fabric. doing so is much faster in terms of work time, but tends to use up more fabric and batting than the method we are showing below).
- Lay the left and right side of the pattern next to each other. Tape it down the middle (there will be a slight gap in the lines in the middle, but you can use your imagination). Then, cut the pattern out along the solid red line. The pattern will look like the photo below when complete:

- Next, fold the fabric in half so that selvedge edges meet and the wrong-sides of the fabric are touching (right-sides on the outside). Place the pattern on the fabric, pin in place and cut.
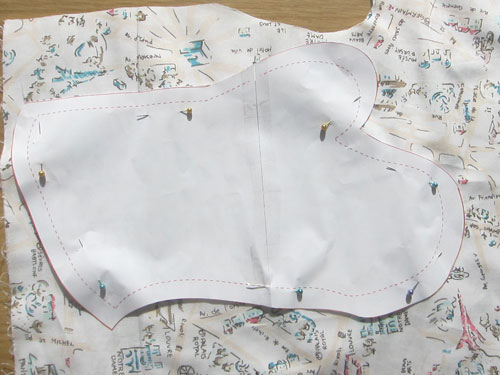
- Then, flip the pattern so the back side is facing up and repeat step 2.

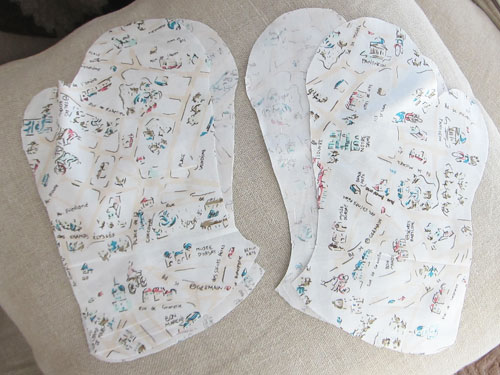
- When complete with step 2 & 3, you should have 4 separate cut-outs:
- Place the pattern on the heat-resistance batting and cut out two outlines: one with the pattern face-up and the other with the pattern face-down. (Some types of batting have a right side and a wrong side. You will need the place the batting in the right direction based on the manufacturer’s directions).
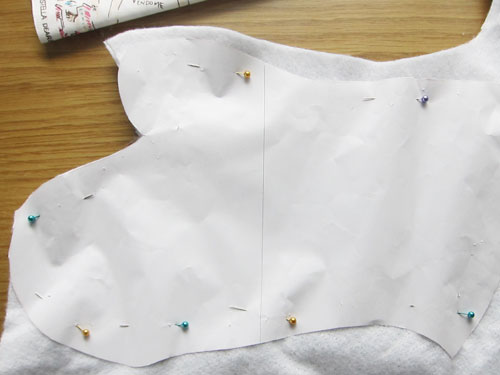
- If you will be using an additional layer(s) of cotton batting, repeat step 5 with the cotton batting. [Note: if you’ll be working with high temps 400 degrees and up, you really do need extra layers of cotton batting for insulation].
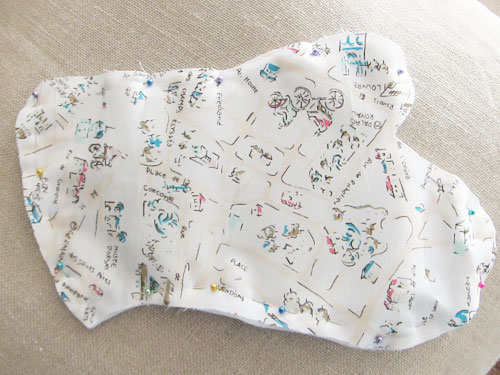
- Then, layer the fabrics on top of each other, such that the right-side of the fabric is on the outsides and the heat-proof batting is in the middle. The additional layer of cotton batting can be placed on either side of the heat-proof batting.

- Pin the layers into place, securing the edges well (otherwise, the fabric will move out of alignment once you begin to sew; you may also need to move and re-pin as you sew).
Now . . . to Sew!
- We decided to quilt our mitts “kantha” style, sewing straight vertical lines up and down the length of the mittens that are 5/8″ apart.
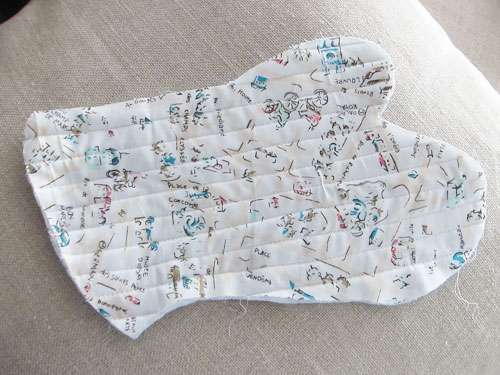
- Repeat step 1 with the other half of the mitt.
- Then, cut a 7.5″ strip of bias tape, pin to the bottom edge of the mitt and sew in place on both halves of the mitts:
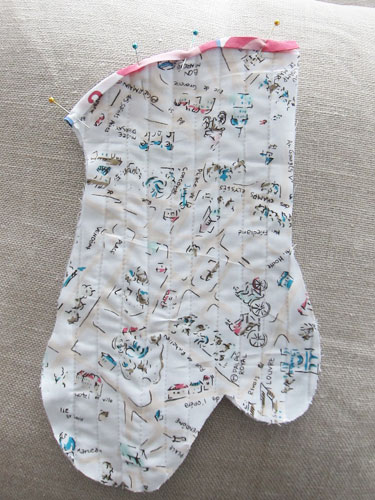
- Next, cut a 6.5″ strip of bias tape. Sew it along its length, so that it doesn’t unfold. Then, fold it in half and attach to one half of the mitt — about 1.5″ from the base of the thumb:

- Next, stack the other half of the mitt on top so that the bias tape loop is inside.
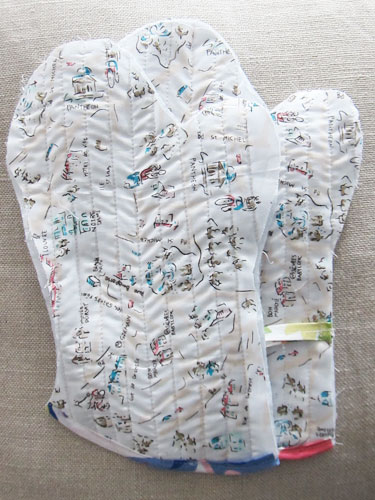
- Then, pin the two halves together and sew about 1/2″ from the raw edge. We aren’t too good at eyeballing a 1/2″ especially around curves, so we took a pen and drew a rough guide for us to follow.
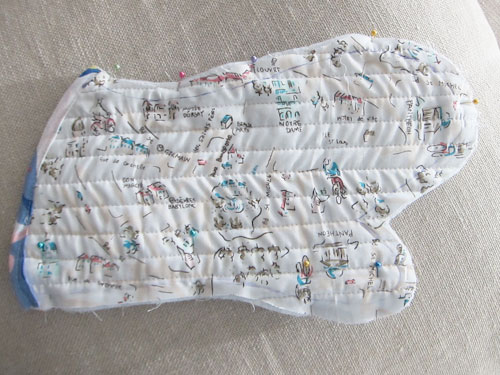
- Next, clip the fabric between the thumb and the fingers, being careful not to cut the seam.

- Trim the excess fabric around the edges, leaving about a 1/4″ seam allowance. (We started to do so near the thumb in the photo below)

- Finally, turn inside out and enjoy!! (For a pair of oven mitts, repeat the steps above for the second mitt.)


I think they are beautiful! Need to make some.