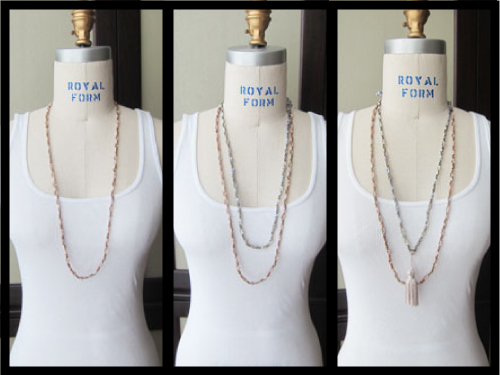
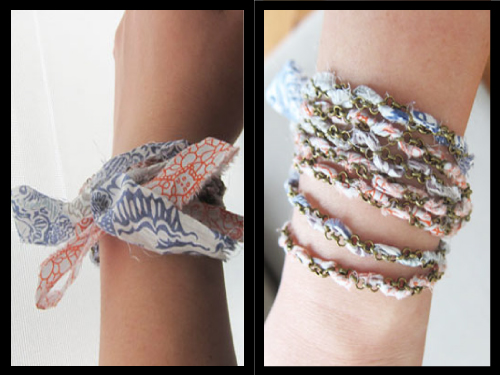
yup…we’re magpies, liberty fabric magpies, that is! you know those little bits and strips of liberty fabric that you’re sometimes left with after a project that are too small for any sort of sewing and yet too precious to throw away? well! if you’ve got lengthy strips in the bunch, they’re great for making jewelry . . . we finally got around to doing so this week, using a few longish strips in our stash to dress up a simple bronze rolo chain. wear the chains together, alone, wrap it around or wrist as a bracelet, or even attach some tassles or charms to jazz things up! here’s what we did . . .
Materials
- Antique Bronze Rolo Chain (3mm) – about a yard for a long necklace (could be longer or shorter depending on the length of the necklace you want to make. The longer sample necklace used up about 36″. The shorter one used up about 32″ of rolo chain).
- Liberty of London Tana Lawn fabric 1/2″ wide by 53″ long (again, could be longer or shorter depending on the length of the finished necklace you’re targeting) — basically, this is a 1/2″ long strip cut along the entire width of a Liberty of London Tana Lawn fabric. It doesn’t have to be cut on the bias. As you work with the strips, the edges will tatter, which gives it a weathered and distressed look. We used Carolyn Jane B and Powell B in our samples, but any print that suits your fancy will do
- You’ll also need a pair of scissors for trimming loose threads and jewelry pliers (we used round nose) to remove the excess rolo chain.
Make it!
- Thread one side of the fabric strip into one end of the rolo chain. It helps to wet the fabric with a bit of water and to twist it into a point.

- Pull the fabric about 8″ through the chain and then knot it where the chain and fabric intersect.

- Pick-up the fabric strip to the left of the knot, and thread it in and out of the loops, skipping about 3 loops in between. When you’ve done a few, it should look something like this:
 When threading the fabric through the loops it helps to do two things:
- occasionally, the fabric will fray and the loose threads can get tangled up. you’ll want to keep a pair of scissors away to carefully trim away the loose threads while preserving some of the tattered edges
- instead of pulling the fabric straight through, it helps to use a twisting motion — try to slightly twist the fabric in a clockwise direction as you pull it through the loop.
- Keep on going until either you have 8″ of fabric remaining or you’ve reached your desired length. Then, remove the XS chain (we used a round nose plier to open the link closest to the last threaded loop, but cutting it with clippers works too). Knot the fabric again at the end of the base of the chain.
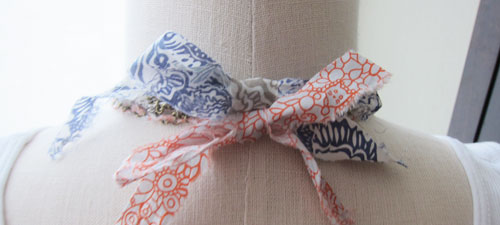
- Finally, iron the chainless sections of fabric flat (or at least until the twist comes out mostly) and tie into a lovely and tattered ribbon!


