
remember those nani iro pants we made for our favorite rambunctious toddler? well, the kid liked them so much we decided to make him another pair (albeit in a larger size – the gray version).
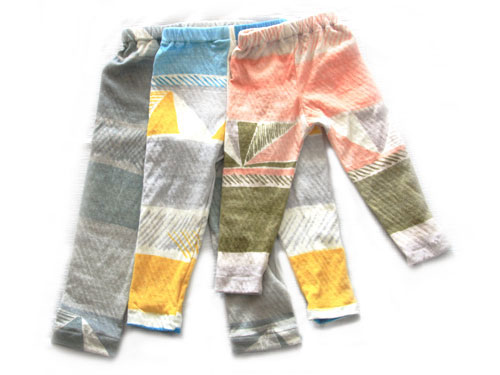 we also stitched up 2 more pairs for E & M, our favorite set of fraternal twins to wear a few months down the road. E is quite a bit larger than M, and hence he gets a 86 cm pair while we whipped up an 80 cm pair for M.
we made a few modifications to our original pattern — mostly replacing the elastic leg cuff with a simple stitched hem and making the pattern available in 4 sizes. there’s a size 92 cm (for 18-24 month olds) that we didn’t sew up (since the kid’s first pair was a size 92cm).
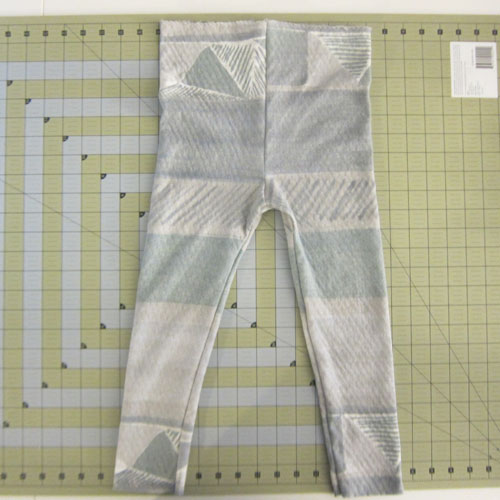
photo above of the pants (size 98cm) in action. they’re a bit long on the kid, since he should be wearing a size 92 cm — maybe we’ll ask him to model again in a few months when he’s grown a few inches.
as soon as ‘lil dumping put the pants on, he wouldn’t stop moving, climbing and wiggling around. we take that as a sure indicator that said pants are super comfortable and non-constricting! pants that allow kids to be kids! hooray!
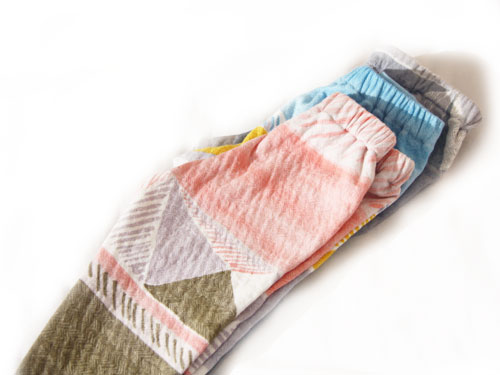
the double knit nani iro fabric we selected has an incredibly soft hand . . . even fluffier than some organic cottons we’ve come across. the colours wash beautifully and the fabric remains just as soft post-wash. we threw the fabrics into scalding hot water, dreft baby detergent, and the extra dry setting in the dryer prior to sewing.
the fabric does shrink down quite a bit lengthwise. our 36″ cut shrunk down to 30″ post wash and 31″ post-ironing. The 27″ cut shrunk down to around 24″ post-ironing. you’ll need about 1 yard for the largest size and 3/4 of a yard for the 3 smaller sizes. the fabric costs out to around $18-$24. admittedly, that isn’t exactly bargain basement but a great deal more reasonable than paying $50-$70, which appears to be the going rate these days for a pair of avant-garde designer toddler pants. plus, you get the sheer pleasure of telling people when they ask you where you got your kid those great pants, that you made them!
so here’s what we did . . . free pattern and tutorial ahead –>
Materials
- Fabric (we used Nani Iro’s Double Knit Herring Bone Painting, which is 31″ wide — narrower than most knit fabrics . . . but oh so worth it for the incredible artistry and soft hand)
- sizes 80, 86, 92 cm: 3/4 yards (27″) prior to laundering. post-laundering, you will need a piece of fabric that is 21″, 21.5″ and 23.125″ long for each of the 3 sizes, respectively.
- size 98 cm: 1 yard (36″) prior to laundering. post-laundering, you will need a piece of fabric that is 25″ long.
- Elastic 3/4″ wide for the waistband: 16″, 17″, 18″, 19″ or adjust to child’s actual waist for best fit.
- nani iro toddler pants (<– click on link to download pattern)
- Coordinating thread
- Pins, a medium sized safety pin for threading the elastic waistband, a sewing machine (fitted with a ballpoint tip for sewing knits), an iron, and fabric scissors
A Note on Sizing
- 80 cm ~ 31.5″ (9-12 mos)
- 86 cm ~33.9″ (12-18 mos)
- 92 cm ~36.25″ (18-24 mos)
- 98 cm ~38.5″ (2-3 years)
- Sizing is based on the child’s height. we have indicated approximate age ranges; however, this may vary from child to child. we recommend choosing the size that comes closest to the child’s actual height.
- For example, the Kid is 19 months old and approximately 35″ tall (95th percentile). He wears a size 92 cm with a bit of room to grow.
Some Prep Work
- We strongly recommend washing the fabrics as you would anticipate washing the finished garment prior to sewing. As mentioned above, the fabric we used does shrink a bit.
- To prevent the raw edges from unraveling during the wash cycle, we put a quick overlock stitch on each of the raw edges prior to tossing into the washer.
- Print out and assemble pattern. it will look something like the photo below.
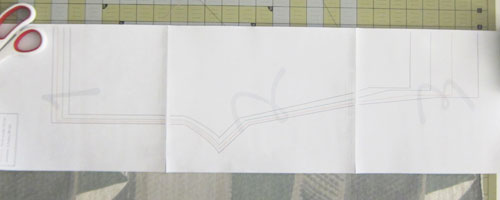
- Cut out the pattern.
- Iron the fabric and cut in half lengthwise, so that you end up with two pieces that are 24/30″ long x 15.5″ wide.
- Fold these two pieces in half again lengthwise, so that you end up with two pieces that are 24/30″ long x 7.75″ wide
- Pin the pattern against one of the folded pieces. the straight edge of the pattern should line up against the folded edge of the fabric, so that you will have one larger piece once the fabric is opened up:
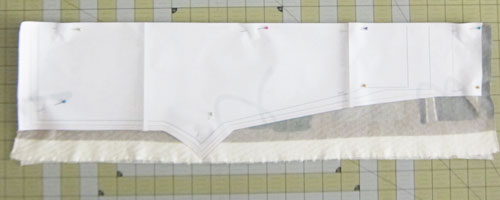
 (note: for the 98 cm size, the pattern will dip into a bit of the selvedge. however, the part that uses the selvedge isn’t in a very obvious location and will be rather unnoticeable for the most part).
 - Repeat with the other half so that you have two pieces of fabric that look like this:
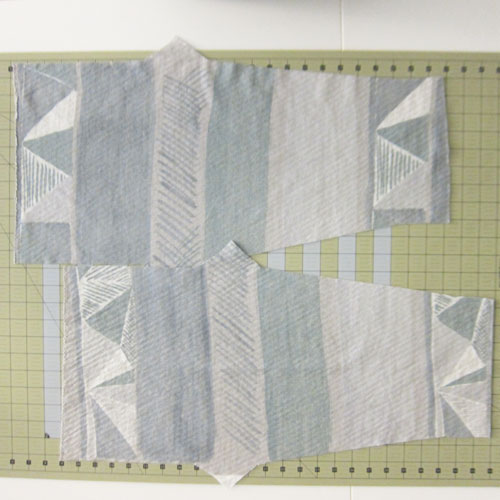
- If you fold these two pieces of fabric lengthwise against themselves again, you’ll see how they form two pant legs!
Now to Sew!
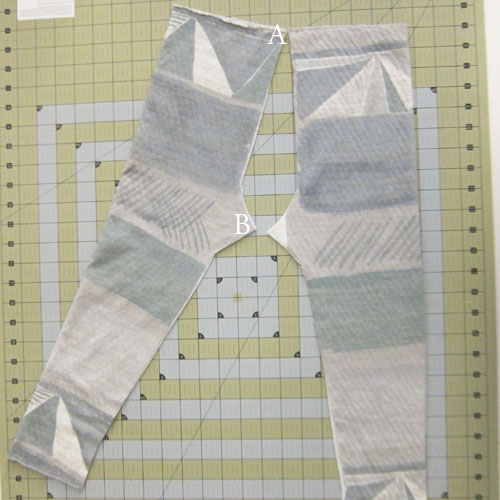
- Place the right sides together, and sew from point A to point B (above) about 1/4 inch from the raw edge. We used a stretch stitch first and finished the seam with an overlock stitch. Repeat on other side. When you’re done (and you’ve opened up the piece), it will look something like this:

- Next, sew together the 2 leg seams. When you’ve done that and flipped the piece inside out, it will look something like this:
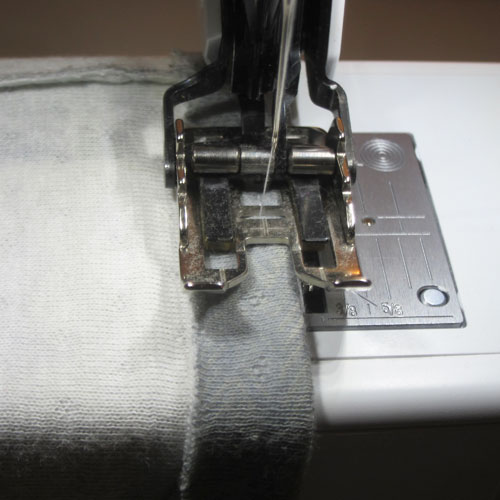
- Then, fold the waistband down a 1/4″ and edge stitch the seam shut:
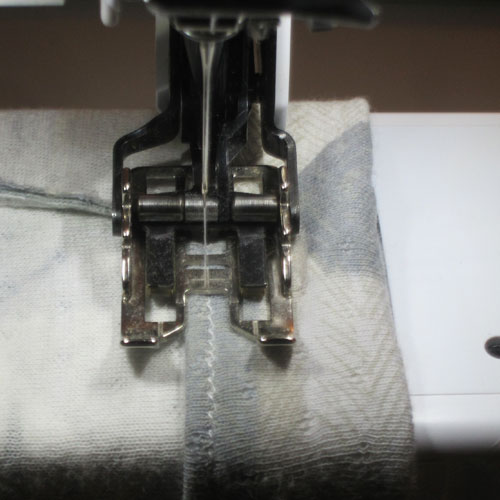
- Fold the waistband down again 1″ and sew on top of the existing seam, making sure to leave a 2″ gap where the elastic can be inserted:
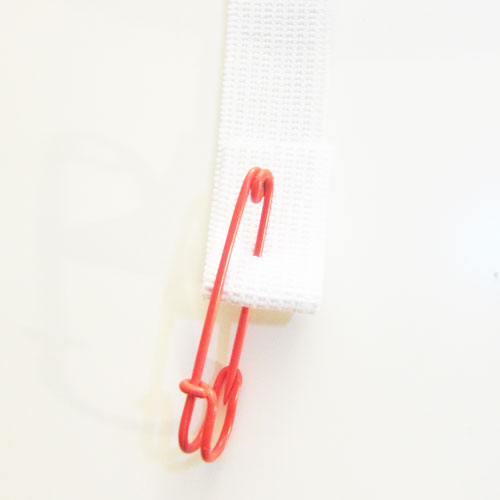
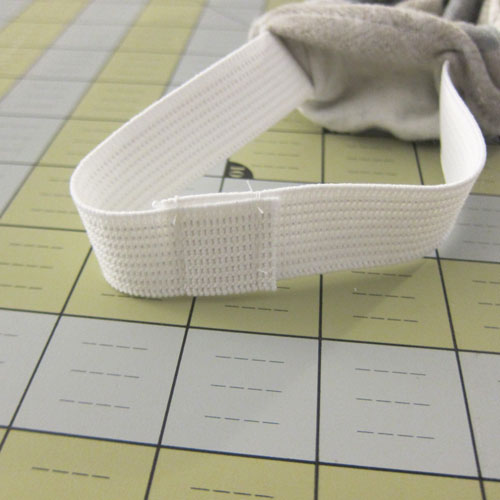
- Fold the elastic band about 1″ from one end and insert a large safety pin through both thicknesses of fabric:
- Using the pin, push and pull the elastic through the waistband. Overlap the elastic about 1″ and sew to secure in place:
- Re-distribute the fabric waistband around the elastic and sew the gap close.
- Fold the cuffs rough 1.25″ from the raw edge and sew in place with zig zag stitch.
et voila! you’re done!
Hiiii! I sell this fabric, and I’d love to use some of your images/ pump your blog! Credited, obviously. Thoughts?
Nicole