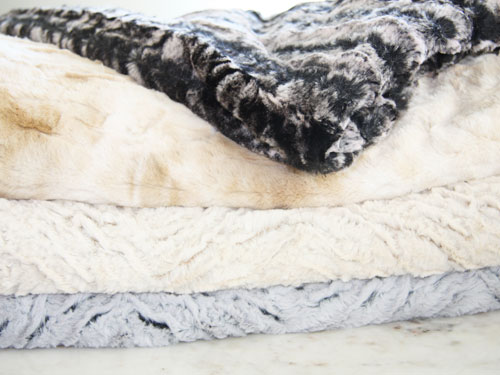
we cut our holiday gift list down to size this weekend with some speedy faux fur throws! these are so simple to make and feel all sorts of soft, silky, fuzzy and all around amazing!
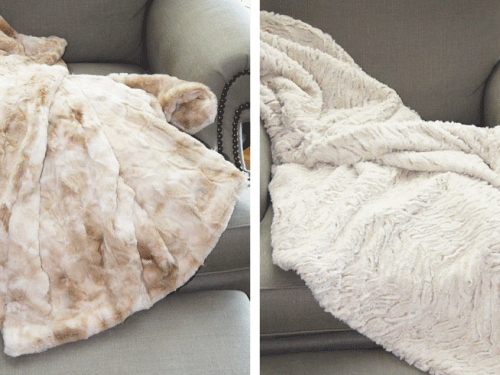
these throws have excellent drape. . . here they are making our favorite club chair a bit more inviting (and a wee bit more posh too!)
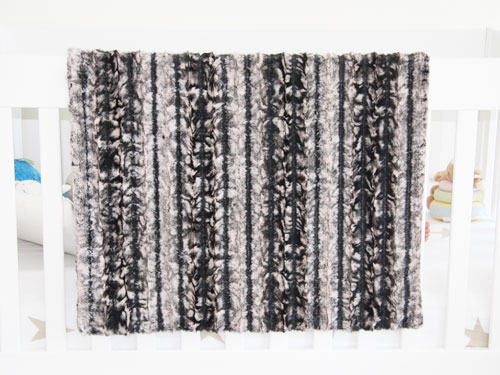
we had so much fun making them, that we whipped one up for the kid too! . . . if you look really carefully, you can just see his toes peeking out on the right side behind his new blanket.
and here’s a step by step tutorial of what we did . . .
Materials
- Fabric:
- for an adult sized throw (45 x 60″) with vertical pattern orientation: 3.5 yards of frosted zebra cuddle fabric, shown in grey and camel
- for an adult sized throw (44.25 x 56″) with horizontal pattern orientation: 2.5 yards of soft cuddle rabbit fabric in beige. this option uses up about a yard less fabric and there’s less cutting invovled than the version above.
- for a toddler blanket (29.25×45″) with vertical pattern orientation: 1.5 yards of frosted chinchilla fabric
- Matching thread
- Needle and thread for a bit of handsewing at the end
- Pins, a sewing machine fitted with a ballpoint needle and walking foot, and fabric scissors or rotary cutter
- it sheds a lot when it is initially cut. the shedding stops once the piece is sewn together. we recommend keeping a vacuum and lint roller handy, and taking the fabric outdoors to give it a good shake.
- faux fur fabric doesn’t need to be dry cleaned. we washed our toddler blanket in the machine using COLD water. we then let it hang dry. the blanket came out looking as good as new. heat tends to alter the softness of the faux fur fibers, and as such should be avoided when possible.
- faux fur fabric is quite heavy. it is considerably easier to sew the toddler blanket than the adult sized throw, as it is smaller and less heavy. when sewing the adult sized throw, be sure to work on a wide table with lots of space. this will make the fabric easier to manage when the table supports the weight of the excess fabric.
- faux fur fabric has stretch. we recommend using a ballpoint needle and a walking foot. your stitch length should be set to 3 when working with a straight stitch
- and here’s a huge plus about faux fur fabric…it’s rather forgiving! if your seams aren’t the straightest, it hides a lot of sins.
Some Prep Work
- Cut the fabric as follows:
- for an adult sized throw (45×60″) with vertical pattern orientation: 45.75″ wide x 121.5″ long (make sure the pattern is running in the vertical direction.
- for an adult sized throw (44.25 x 56″) with horizontal pattern orientation: 56.75″wide x 90″ long (make sure the pattern is running in the horizontal direction)
- for a toddler blanket with vertical pattern orientation: 60″ wide x 46.5″ long (make sure the pattern is running in the horizontal direction
- Fold: you can cut the fabric into two identical and separate pieces. however, we prefer to fold the fabric in half so that one of the 4 seams is already encased and doesn’t need to be further finished.
- for an adult sized throw (45×60″) with vertical pattern orientation: fold the fabric in half so that the right sides (fuzzy sides) meet and the folded piece is 45.75″ wide x 60.75″ long.
- for an adult sized throw (44.25 x 56″) with horizontal pattern orientation: fold the fabric in half so that the right sides meet and the folded piece is 56.75″ wide x 45″ long.
- for a toddler blanket with vertical pattern orientation: fold the fabric in half so that the right sides meet and the folded piece is 30″ wide x 46.5″ long
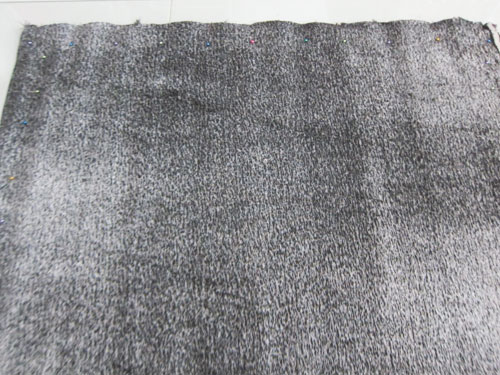
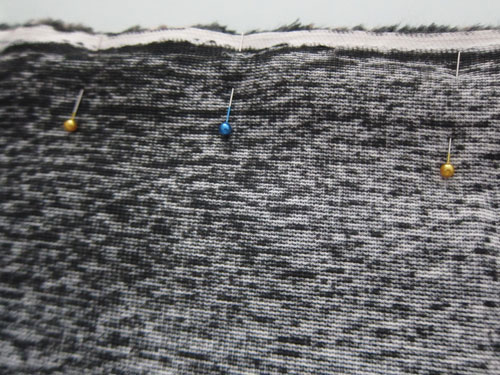
- Pin: pin along all four edges, leaving a 10 inch opening in the adult sized throws and a 6 inch opening in the toddler blanket on one of the unfolded edges. we used an extra pin at a slant to indicate the beginning / end of the opening. lastly, we recommend pinning every 1.5-2″ as faux fur fabric can be slippery.
Now to Sew!
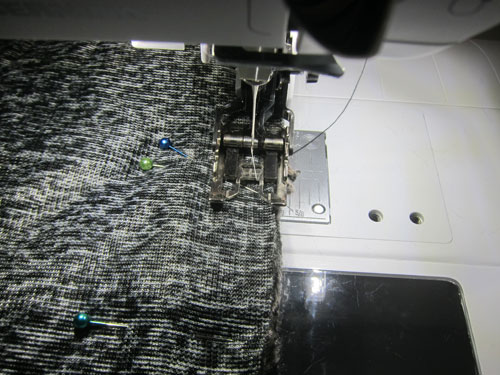
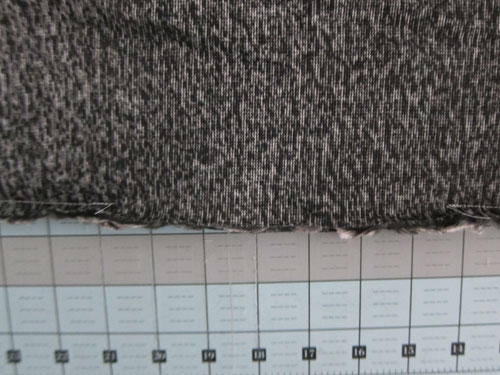
1. Sew all along the 4 edges of the throw, leaving an opening as indicated above. We used a 3/8″ seam allowance. When you’re done it should look something like this:
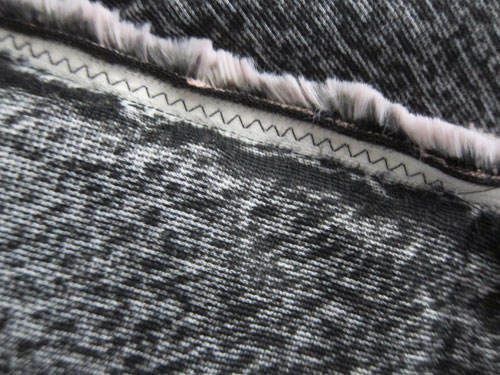
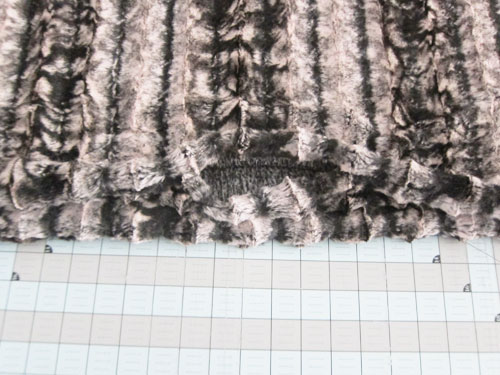
2. Then add either an overlock stitch or zigzag stitch around the sew edges to reinforce the seam:
3. Reach in through the opening, and turn the piece inside out, making sure that the corners are flipped entirely through.
4. Finally, sew the opening close with ladder stitch. It’s a little hard to show on fuzzy fabric, but here’s an excellent ladder stitch tutorial! Fuzzy fabric has the added benefit of hiding sloppy stitches, so if you aren’t the neatest seamstress in the world . . . the fuzz acts as a wonderful camouflage!

