over brunch one day, a sartorial minded friend of ours mentioned his love for bowties. putting that together with our slight liberty fabric obsession, we decided to whip out our sewing machine and design a one-of-a-kind bowtie for him.
in case you want to make your own, we’ve put together a step-by-step tutorial to show what we did to whip up hamish!
Materials
- Fabric A: 1/4 meter (shown: a vintage Liberty Tana Lawn print, no longer in production. Liberty Mirabelle A is a good substitute)
- Fabric B: 1/4 meter (shown: Liberty Pepper Blue)
- Lightweight fusible interfacing: 4″ x 6″
- Matching thread
- 3/4″ bowtie hardware (hook, eye, slider set)
Fabric Pattern
Hamish – this is a .pdf pattern (for accurate scale, you may need to turn off the “fit to printable area” function when you print).
Some Prep Work . . .
for the bow
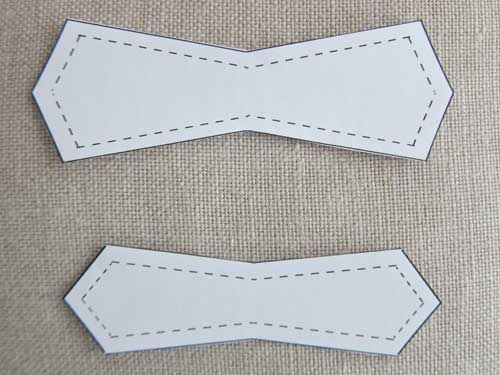
- Cut out the patterns A & B along the solid line.
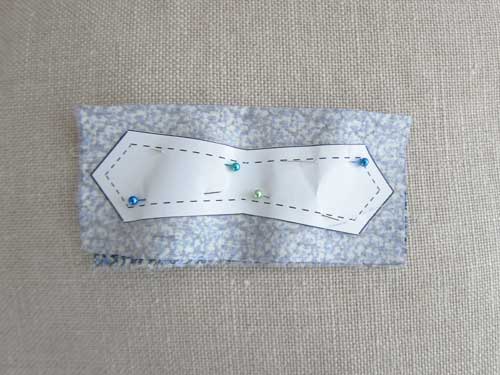
- Cut out a 8×6″ rectangle from fabric A. Fold it in half (so that you have a 8×3″ rectangle), with the right-sides meeting. Iron the fabric flat. Then, pin pattern A to fabric A (through both thicknesses of fabric). The paper pattern should be pinned close to the left-side of the fabric, as you will need a bit of the remaining fabric later. Finally, cut following the solid line of the pattern.

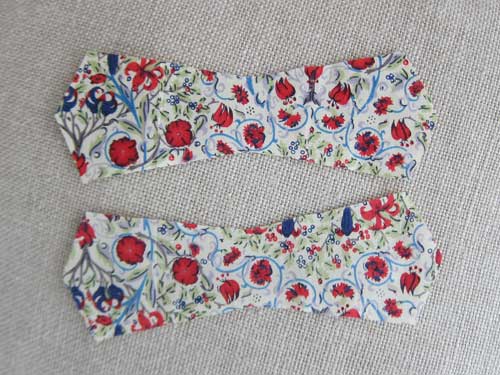
- Cut out a 6.5″x3″ rectangle. Then, repeat step 2 with pattern B and fabric B.
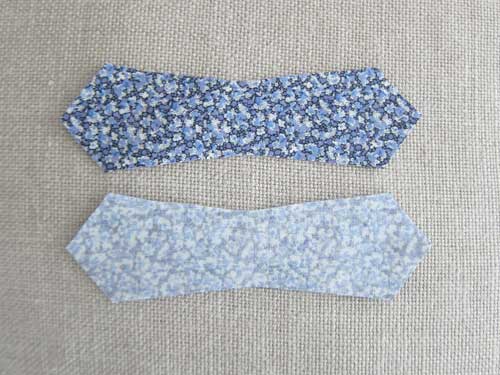
- Remove the patterns and the pins from fabrics 1 & 2, but leave the 2 halves as they were with the right sides touching. (We moved the two pieces apart for photographic purposes only.) We’d ordinarily pin the two pieces together before sewing, but given the size of the fabric, it’s easier to maneuver without having the pins in place.
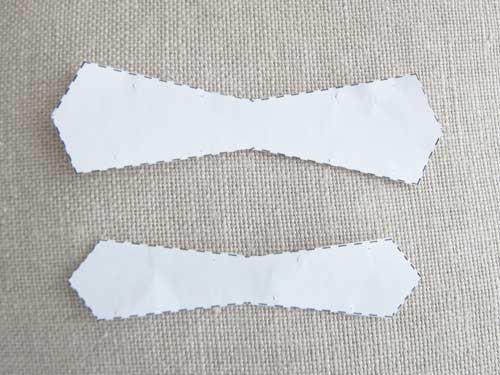
- Now, take paper patterns A&B, and cut along the dotted line.
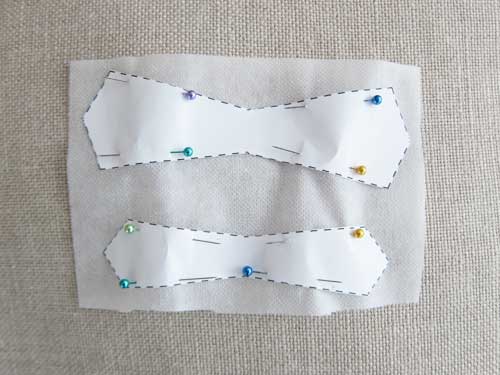
- Pin the “revised” patterns A&B to interfacing, and cut out along the dotted line.
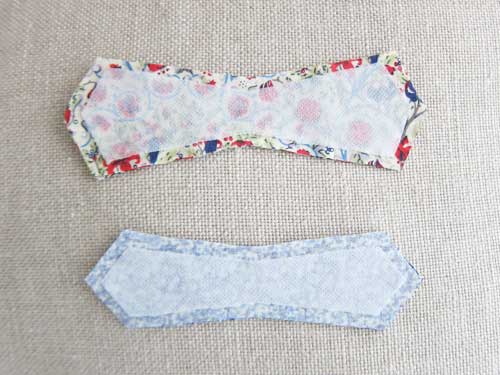
- With the rough side of the interfacing touching the wrong-side of the fabrics, center the interfacing on the bow-tie fabric cut-outs and iron it to the fabric.
for the “loop in the middle of the bow”
- Using fabric A, cut out a rectangle that is 1.75″ x 2″.
for the strap
- using fabric B, cut out a rectangle that is 2″ x 22″.
Now . . . to Sew!
- Sew together the two halves of fabric A & B, using the outer edge of the interfacing as a guide (~1/4″ from raw edge of fabric). You should leave a 1/2″ gap in the seam, so that the piece can be turned inside out. We recommend starting from the lower left-hand side, leaving a gap about a 1/2″ from the east-west midpoint of the bowtie. The picture below shows our starting position:
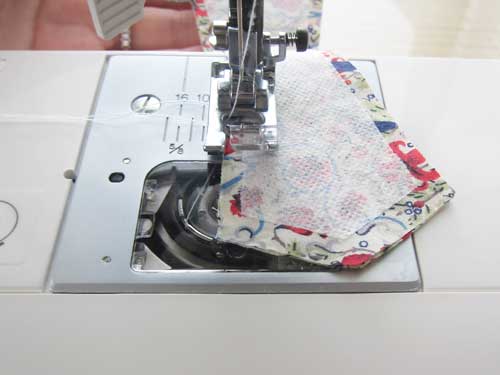 When both pieces have been stitched together, it will look like this: (if possible, try not to sew the interfacing…you want to be right outside of the interfacing’s edge. we goofed a few times).

- Use a safety pin, thin dowel, tweezers or loop turner to flip the pieces inside out:
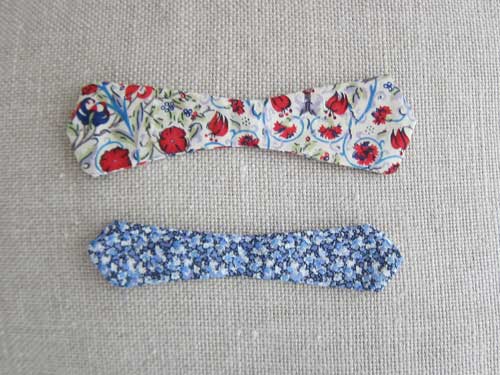 Then, iron flat. Use either fabric glue or ladder stitch to close up the gap.
 - Center bow B on top of bow A. Then sew about 5 stitches across to secure in place, as shown in the picture below:
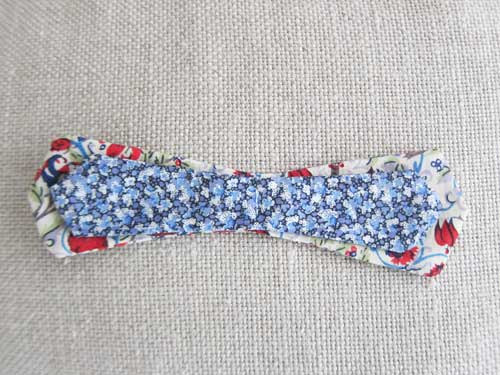
- Next, take the 1.75″ x 2″ rectangle you had cut out earlier from fabric A.
– Fold it in half with the right sides touching, so that it becomes a new rectangle that is 7/8″ x 2″.
– Sew along the 2″ length, about 1/4″ from the raw edge.
– Turn it inside out and iron flat.
– With the seam on the outside, fold the strip in half again. Sew the strip along its width this time about 1/2″ from the raw edge.
– Cut off 1/4″ from the raw edge and turn it inside out again. Iron flat once more.
– The finished piece will be a loop with a circumference of 1″ and a width of 5/8″ - Then, take the 2″ x 22″ rectangle cut from fabric B.
– Fold it in half and iron flat.
– Then, sew along the 22″ length, about 1/4″ from the raw edge.
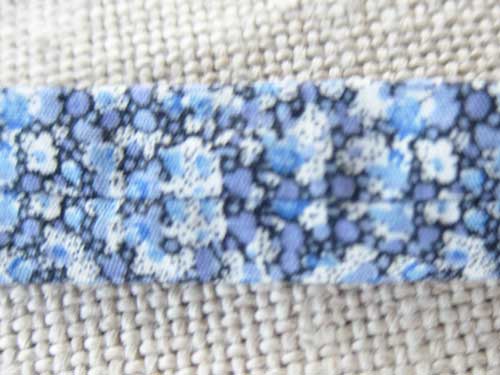
– Turn it inside out and iron flat, leaving the seam in the center like the picture below. You just made the bow tie strap!
- Using a safety pin, pull bows A & B from step 3 through the loop that you had made in step 4.
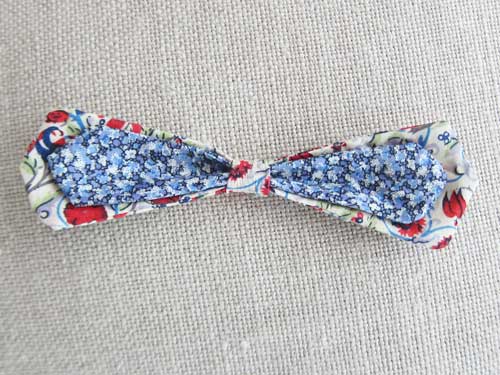
- Then, pull the strap from step 5 through the back of the loop:
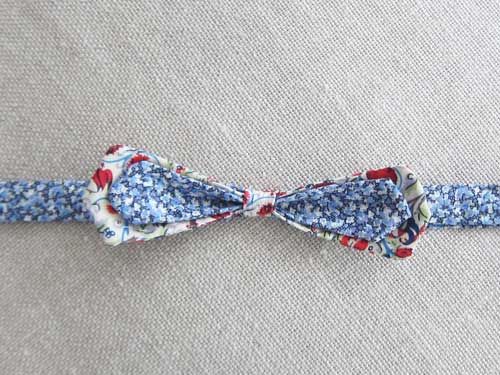
Almost there . . . Fitting the Bow Tie Hardware
- Slip the slider onto one end of the strap. The strap’s seam should be on the interior (the side that touches your neck).

- Then, on the same side as the slider, thread the eye to the left of the slider.

- Pull the loose tail end through the slider:
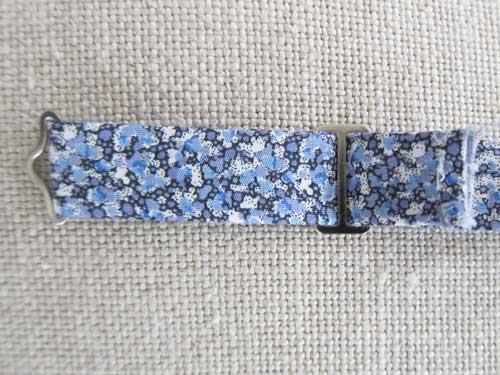
- Clip the tail end into the shape of an arrow. Then, fold it inwards twice (a 1/4″ double fold hem) — about 1/4″ each fold — and sew the folds in place (do not sew the tail end to the other side of the strap – you want it to be adjustable):
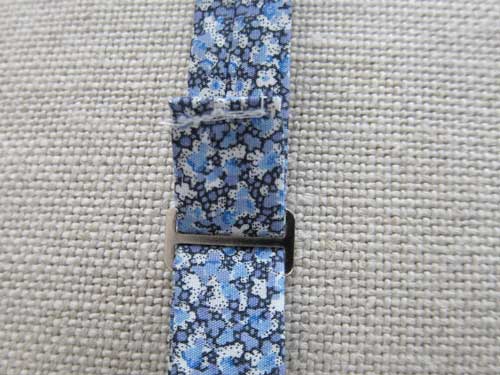 (Yes, we know! the seam is a bit ugly here. because you’re going through additional thicknesses of fabric, you may need to adjust your tension. Otherwise, you’ll end up with a mess like we got on the first run through).
 - Slip the hook in place on the other side of the strap. (You may want to hold it in place with your fingers and test to make sure you’ve got the right side up and that it hooks properly with the eye). Clip the tail end into the shape of an arrow as in step 4. Fold the arrow under, then seam together. This time you’re actually going through both the fold and the other side of the strap, so as to lock it permanently in place.
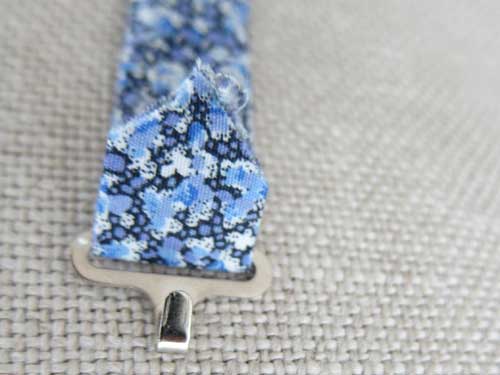
 We used a zig-zag stitch on this side. A straight stitch would work just as well.


One thought on “hamish, a liberty print bow tie”